

The Personnel Selection view on the Time Sheet initial screen allows an user to identify which personnel records they are editing the Time Sheets for. However sometimes the information for the Personnel Selection view can be lacking – it can lead to mis-selections when Time Sheets are being used by centralised data capture, or team assistants. It may be helpful for them to include extra fields – for example, full name; or Cost Centre – to be sure they are selecting the correct records to update. Conversely, you may wish to hide fields that might cause confusion, such as Employee Group.
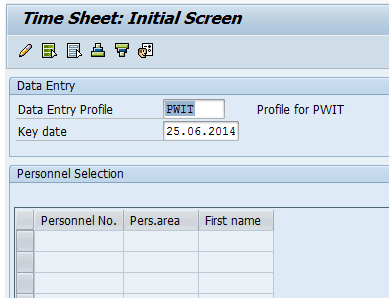
Example: This Data Entry Profile includes only First Name, not Surname.
In short, many customers wish to change the Personnel Selection data displayed on the entry screen of the CAT2 transaction for Time Sheet capturing, for a variety of reasons. Which steps should you follow to achieve this?
If you are familiar with the configuration of the actual data entry screen, you’ll immediately recognise the mechanics for the selection screen data as well. Both are controlled by the data entry profile. The only point, which many users seem to miss, is how to actually get to the point, where the data displaye don the CAT2 entry screen can be influenced. CATS Data Entry Profiles can be confusing to configure; there are various combinations of views and influences that will affect which fields are displayed at which point. However, like all things in SAP, the configuration starts in the IMG customising tool. Note that the configuration for actual Data Entry structure follows a similar path to this, though affects a different structure and view.
So here is how to do it, in a few simple steps!
Step 1: IMG Navigation
In the IMG, navigate to path:
Cross-Application Components > Time Sheet > Settings for All User Interfaces > Time Recording > Choose Fields

Step 2: Go to Settings
Double-click on „Settings“.
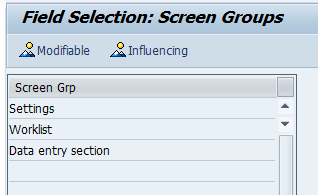
Step 3: Influencing
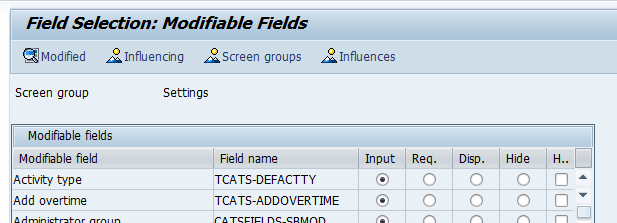
Click on the icon „Influencing“, then in the Contents parametre, enter your Data Entry Profile and hit Enter.
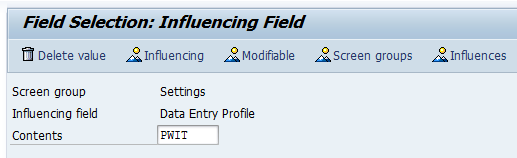
Step 4: Fields
The fields pre-fixed with PERNR_LIST_STRUCTURE are displayed in the Personnel Selection box of the CAT2 Time Sheet transaction. These can be changed from Hidden to Displayed, or vice versa.

In the case of our example, we are going to change Cost Centre and Employee Name to Displayed, and First Name to Hidden, as the arrows indicate.
Result
The displayed fields are changed!


